I recently completed a cap kit replacement on a Sega 839-0035 audio amplifier board, and I wanted to document a few of my findings in case it helps others working on these classic games. This board is used on Sega’s OutRun, Afterburner, and Super Hang-On.
Research & Resources
Before diving in, I did some homework to make sure I had the right information. The KLOV forums were especially helpful:
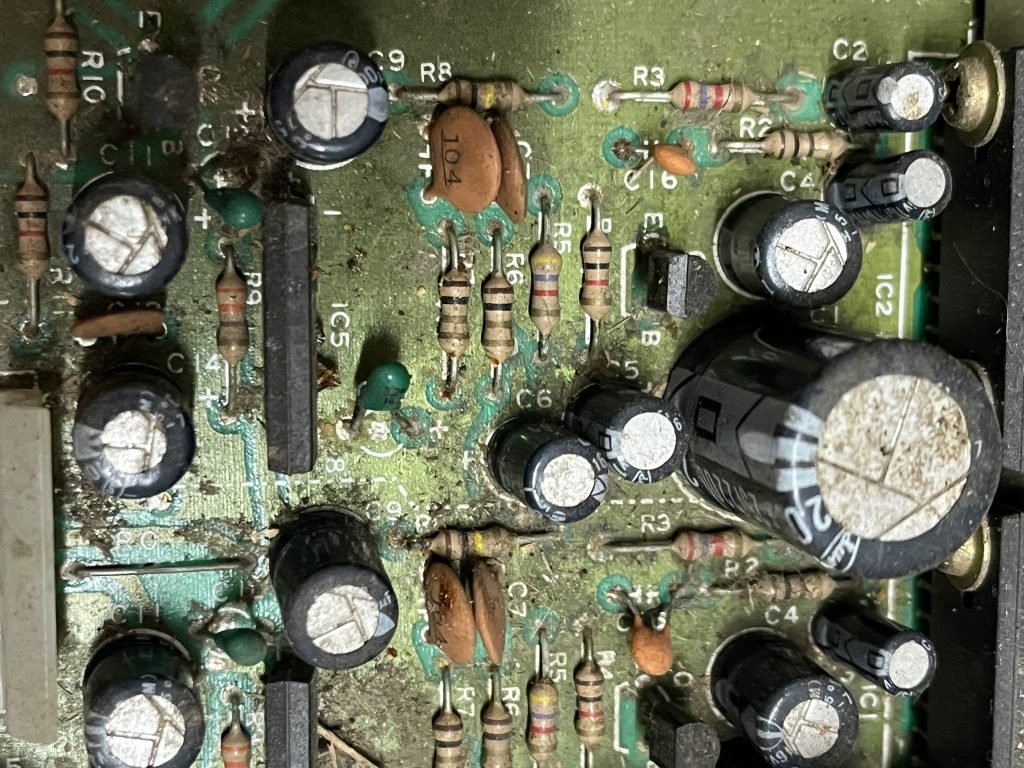
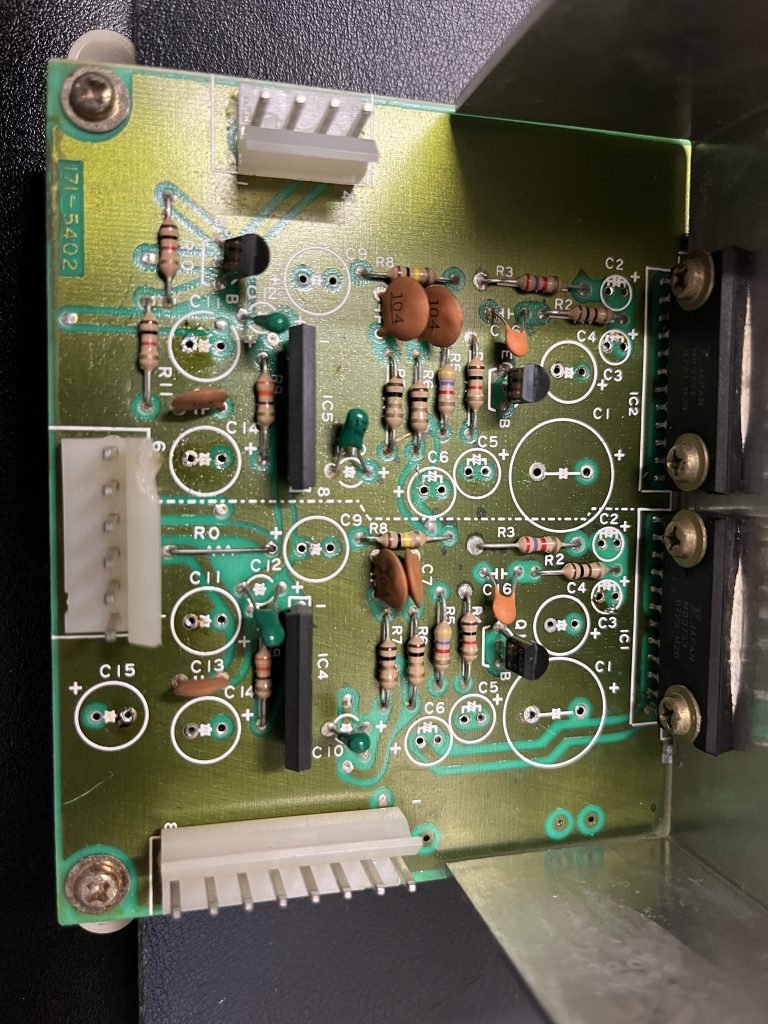
- I found a capacitor map and pinouts from a user post that clearly showed the component layout.
- Another thread included schematics for the board, which helped me trace signal paths and confirm correct cap values.
Having these two resources side-by-side gave me a clearer picture of what I was working with and boosted my confidence going into the repair.
Observations
As I started removing components, a few things stood out:
- The audio wasn’t working in an Afterburner arcade game, and the client wanted to start with a cap kit to rule out bad capacitors as the cause.
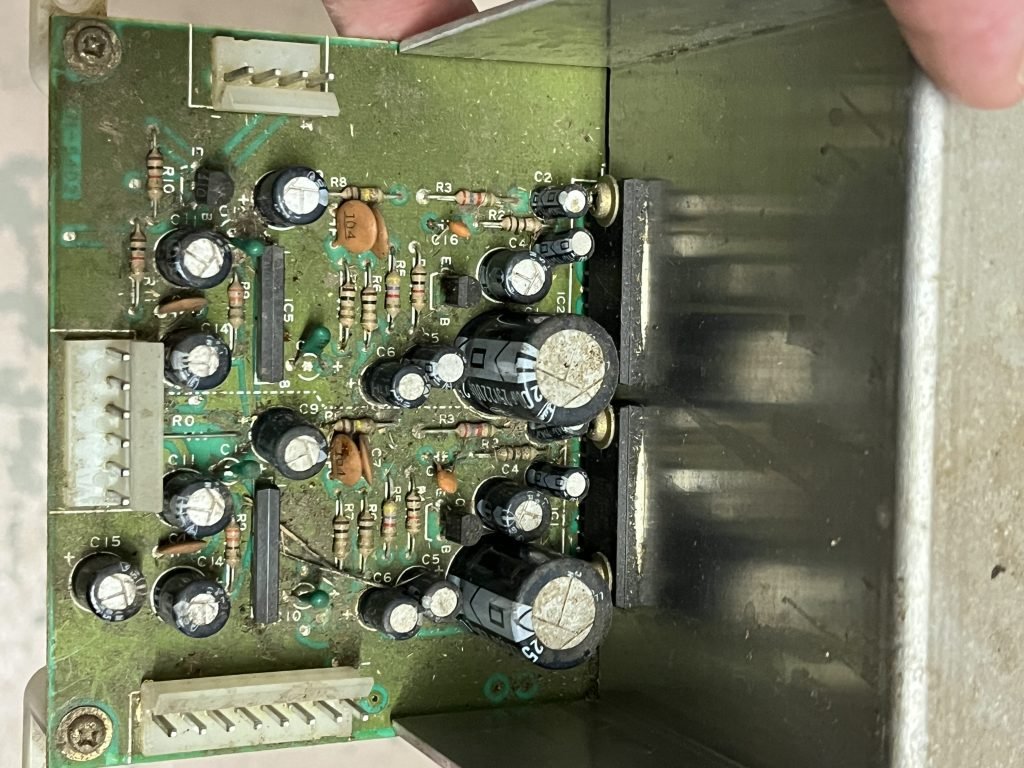
- The board was extremely dirty and clearly overdue for new caps.
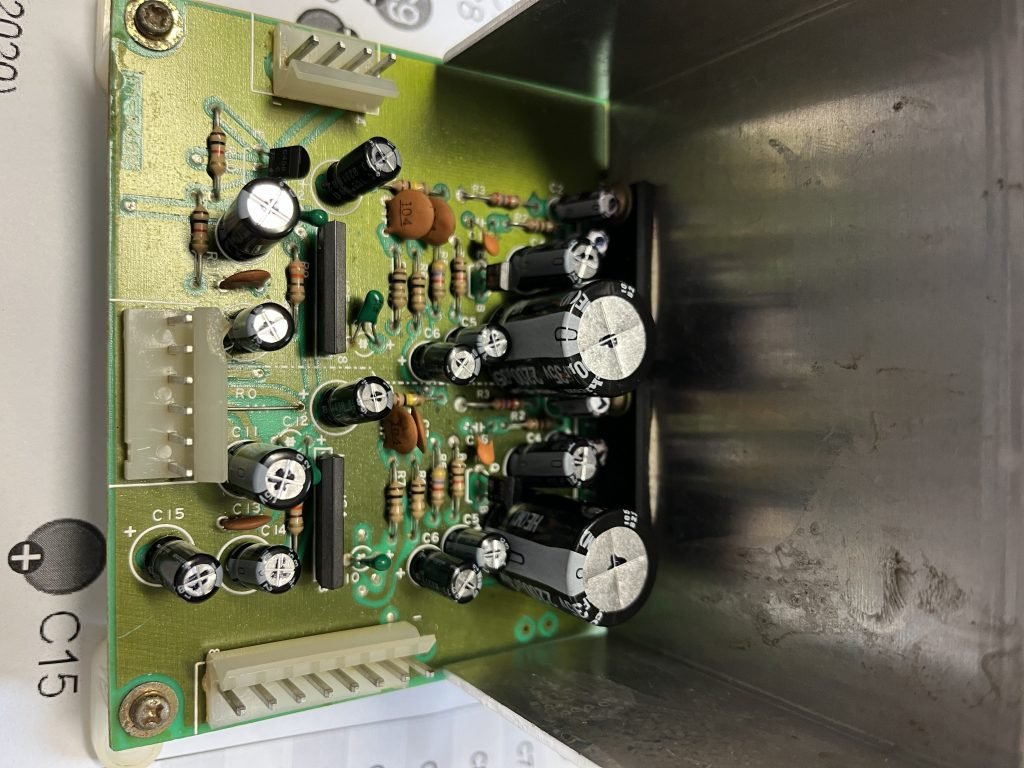
- It’s a compact but serviceable board, provided you have a good desoldering tool and a steady hand.
- The large ground plane requires a significant amount of heat to desolder components properly. Take your time and use appropriate tools to avoid lifting pads.
Photos
Here are a few photos from the process:
Final Thoughts
If you’re working on a Sega classic and come across the Sega 839-0035 audio amplifier board, a cap kit is a solid first step to cleaning up your audio. And thanks to the KLOV community, getting the info you need to do it right is pretty straightforward. Don’t forget to double-check your cap values and orientation before powering back on.
If you enjoy reading this, sign up for the newsletter!
[convertkit form=7471844]