A Day in the Life of a Pinball/Arcade Repair Tech
As a repair technician for pinball and arcade games, no two days are ever the same. Here’s a glimpse into a recent day spent bringing vintage and modern machines back to life.
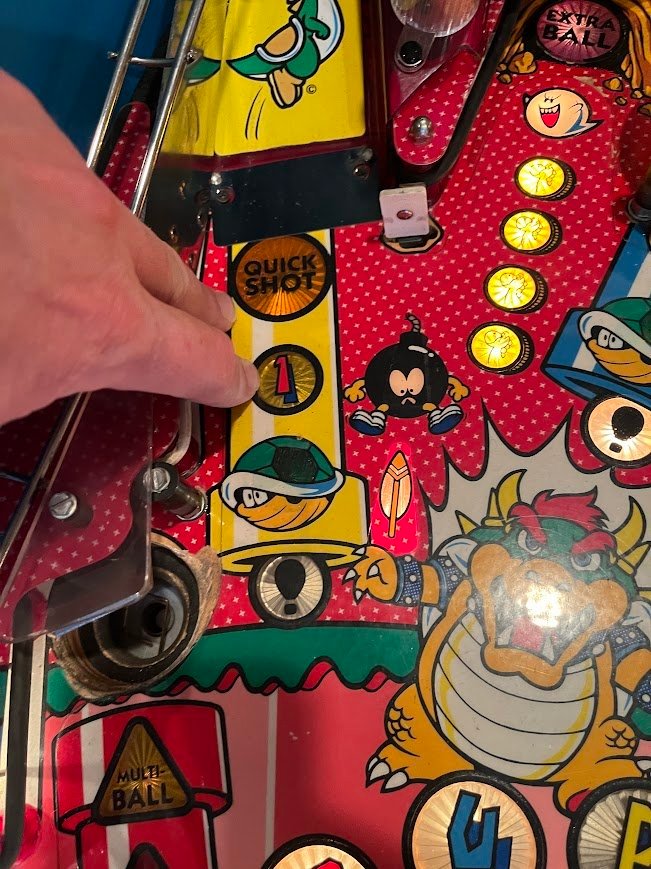
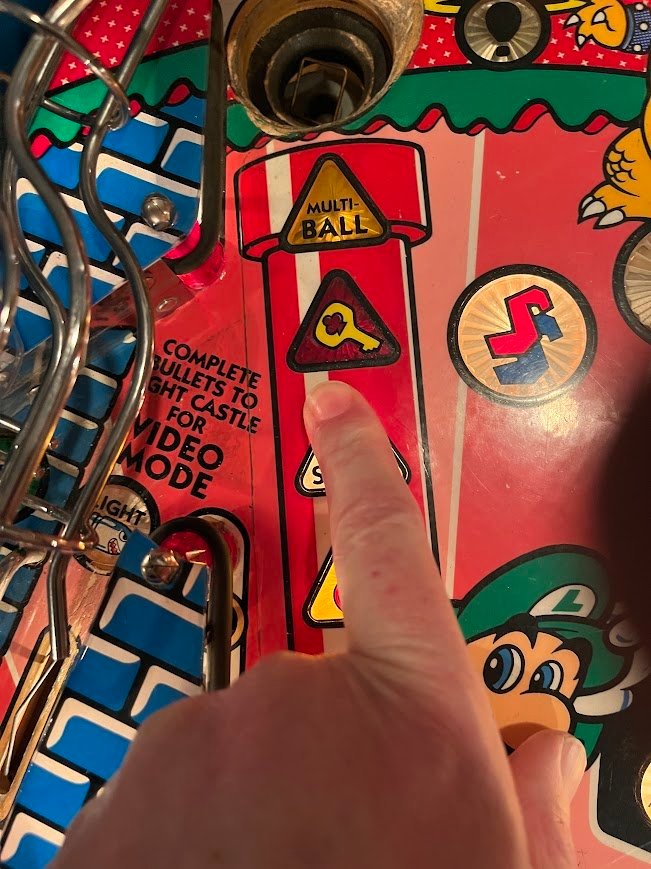
Repair 1: Gottlieb Super Mario Bros.
This pinball machine needed some TLC. There were no major problems, but the owner wanted a tune-up. About 15 lights weren’t working. Most issues were due to bad bulbs, but I also had to replace a couple of diodes to get the lights back in action. I took the opportunity to give the game a thorough cleaning and waxing. A clean, polished playfield not only looks better but also helps the ball glide smoothly.
After these fixes, the machine was shining and playing like a dream.
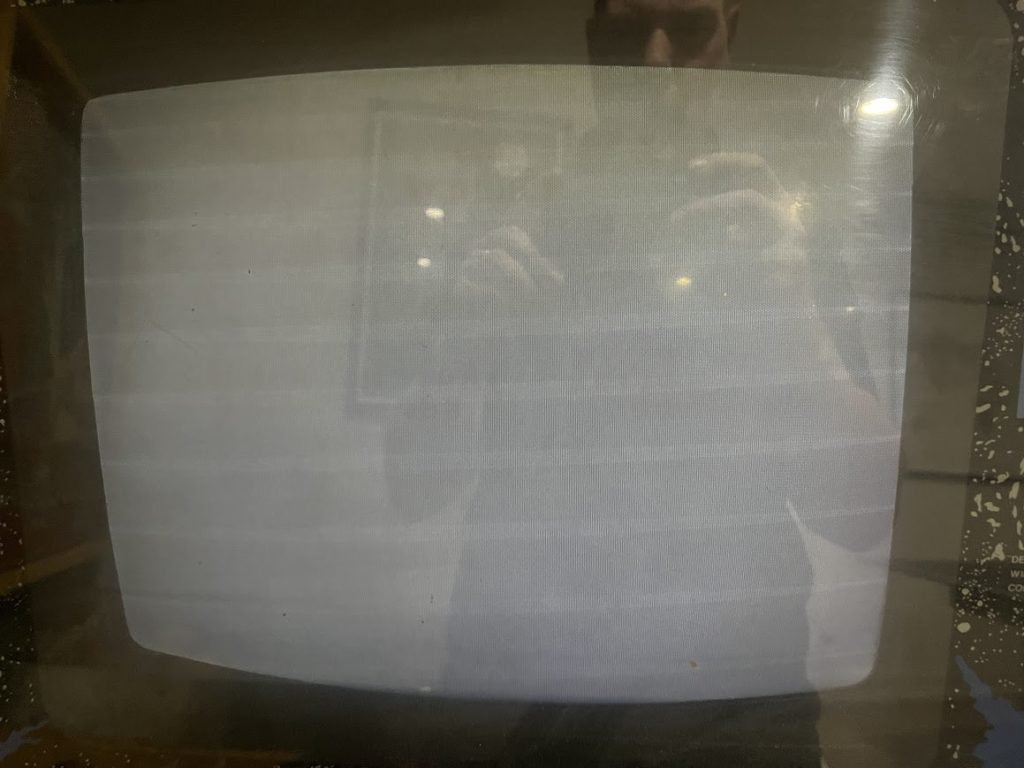
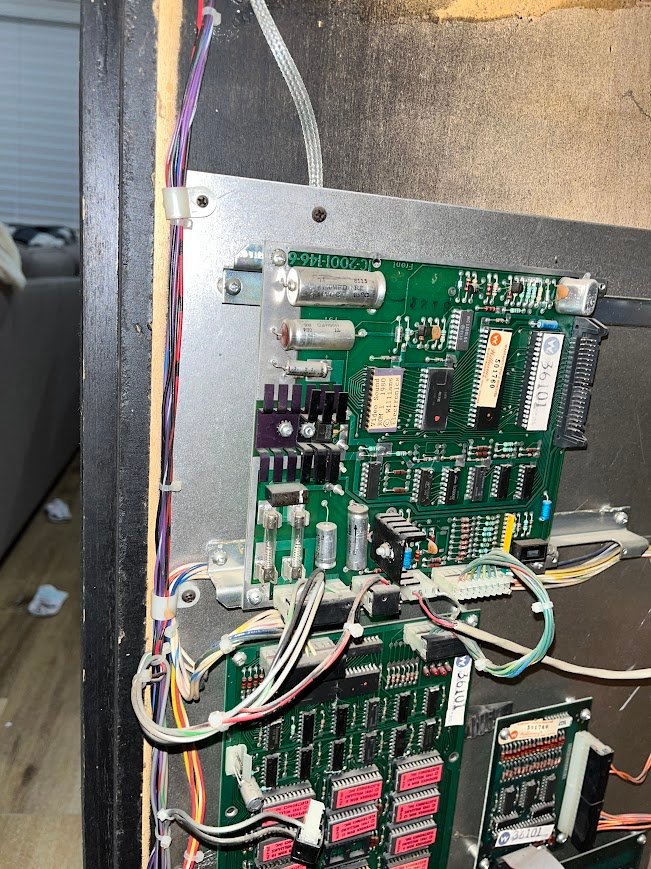
Repair 2: Williams Defender Arcade Game
This classic arcade game was completely dead on arrival. Here’s how I tackled it:
- Installed a switching power supply: The original power supply was failing, so I replaced it with a modern equivalent.
- Resoldered header pins: Bad connections can cause all sorts of problems, so I touched up the solder joints on the board.
- Crimped new power connectors: Ensured a secure connection to the new power supply.
The game powered on but booted to a white screen. To diagnose further, I took the boards home for additional troubleshooting.
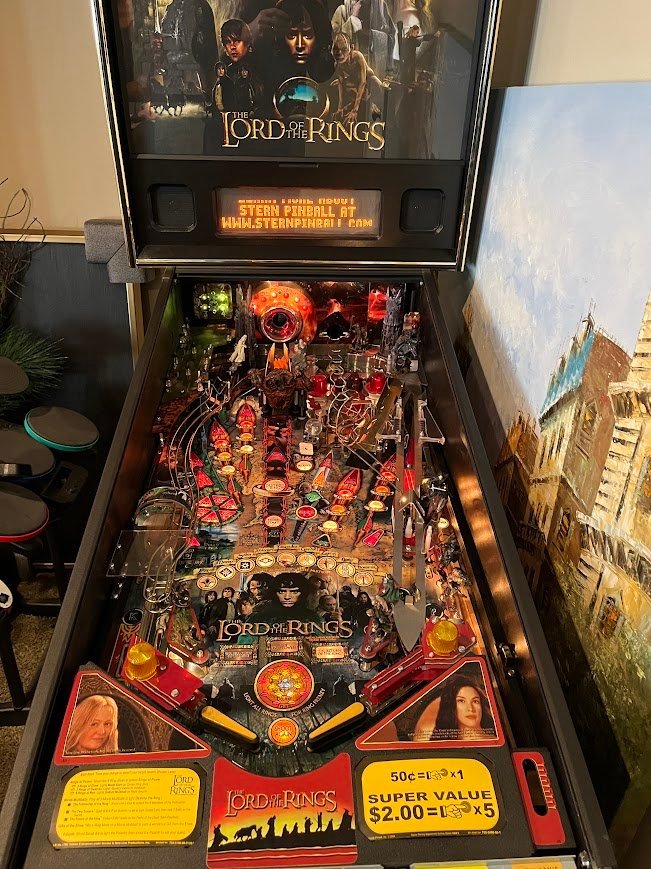
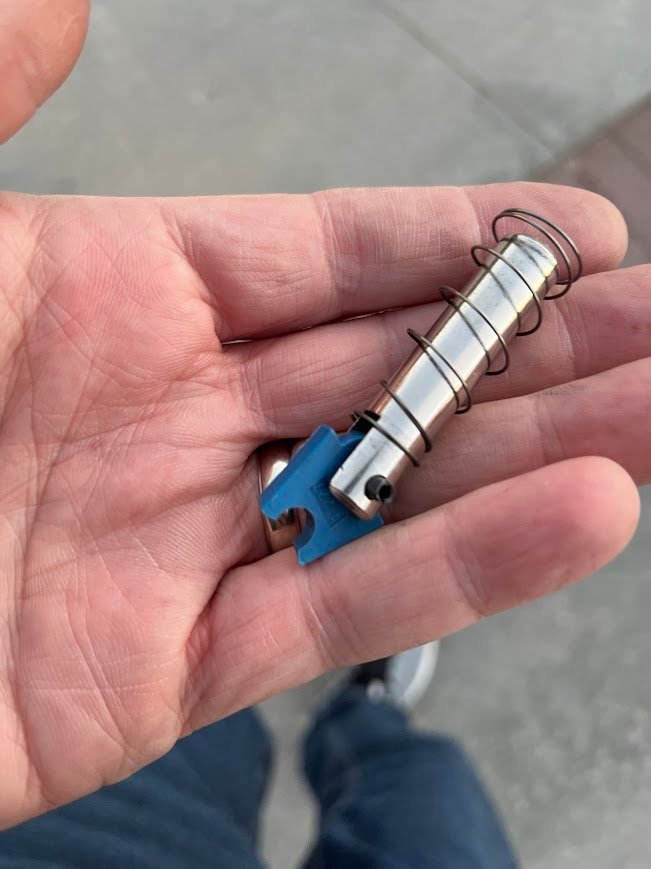
Repair 3: Stern Lord of the Rings
This pinball machine wasn’t kicking out balls during multiball mode. Here’s how I solved the issue:
- Test mode diagnostics: Put the game in test mode and found that while the autolaunch mechanism was firing, the kickout armature wasn’t moving.
- Inspected the mechanism: Discovered a broken link on the plunger.
- Reinstalled a new plunger/link: After replacing the broken part, the kickout coil functioned perfectly.
With the repair complete, the game was ready for some epic Middle-earth adventures.

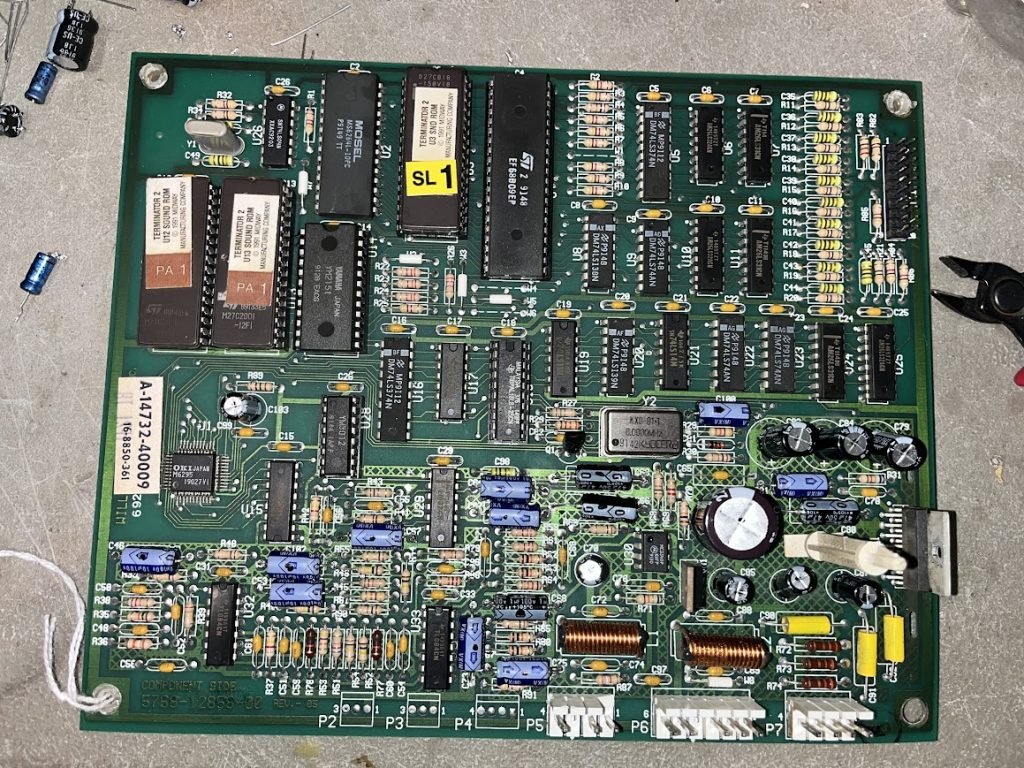
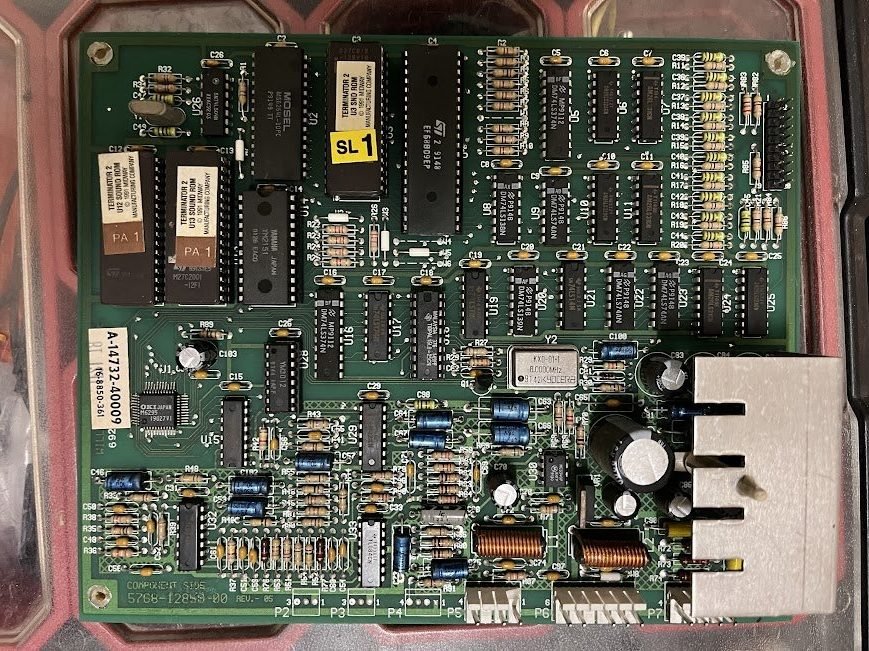
Repair 4: Williams Terminator 2 Arcade Game
This arcade game had audio issues, with sound cutting in and out for some time. Here’s what I did:
- Checked connectors and wiring: Reset the connectors and inspected the speaker wiring for loose or damaged connections.
- Cap kit replacement: Took the sound board home and replaced the capacitors. A couple of them were starting to leak, so I cleaned up the corrosion and checked the traces. I ordered this kit from Arcade Parts and Repair. There were a couple caps different in this kit than the actual board.
A follow-up call will be needed to re-test and ensure everything is working perfectly.
The Rewarding Challenges of Repair Work
Working on these machines is like solving puzzles. Each repair has its own set of challenges, but the satisfaction of seeing (and hearing) a game come back to life makes it all worthwhile. Sometimes the problems are easy fixes, while others require more effort. I wish I could say I repair these in one trip, but many times, the first visit is just for diagnosing the problem, requiring a follow-up appointment. I enjoy the variety of games and the challenges they bring.
If you enjoy reading this, sign up for the newsletter!
[convertkit form=7471844]
Thanks for posting that information! My skillset runs towards the old E/M pinball machines, so I am always impressed by people who can work on the newer games! I hope that you have a great year in 2025, and please keep posting about what you run into.
Thanks, Mike! I am currently working on El Doraro: City of Gold and interesting to compare the EM and SS versions of this game. I’ll have a future post about the repair.